Showing posts with label Snowflake. Show all posts

Saturday, September 12, 2020

Dynamic Data Masking feature of Snowflake


         Data security over cloud is a concern for many organizations while moving their data to cloud. With newer and ever growing regulations and laws on data privacy and protections, it is ever more challenging landscape for organizations to protect their customer's data.

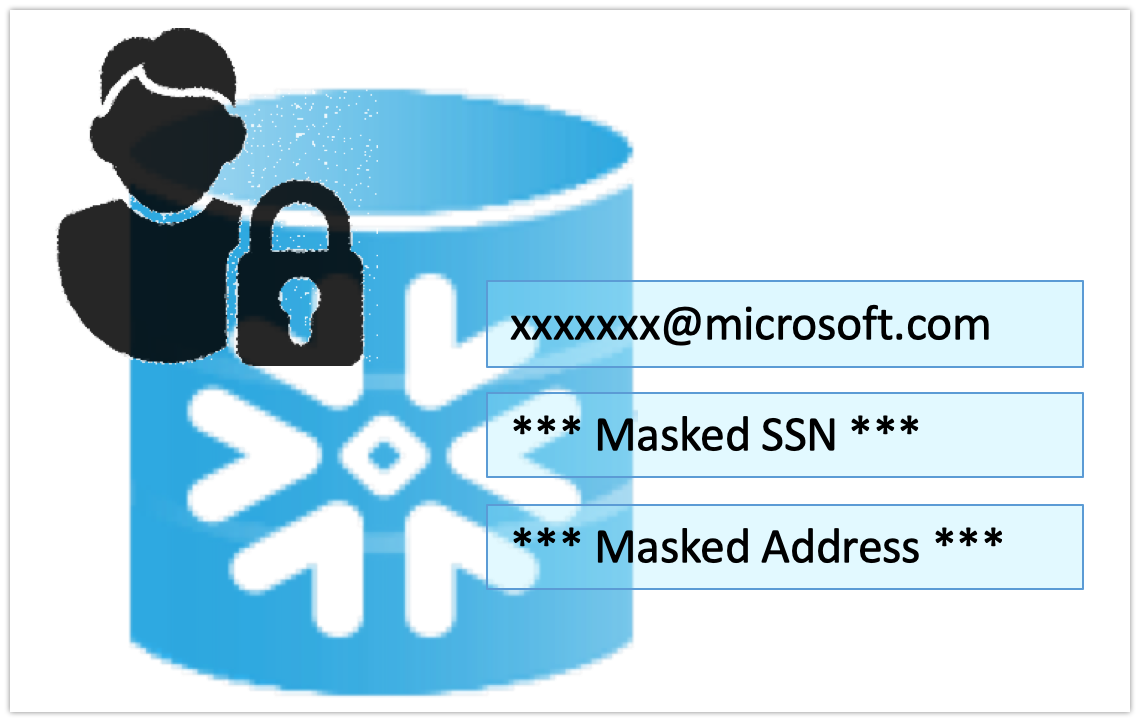
        In July 2020 Snowflake announced availability of new set of column level security features available called dynamic data masking. This lets organizations control the exposure of Personally Identifiable Information (PII), Protected Health Information (PHI). There are a number of security products such as SecuPi provide these features as their product services, Now snowflake offers its own built in feature with many advantages compared to third party products. This features offers

  • Ease of use
  • No additional performance hit
  • Seamless integration with rest of snowflake's features & roles
  • No additional cost
Dynamic Data Masking is one the new feature introduced in Snowflake to cater to data security and privacy both from external and internal users.

Creating an effective data protection policy

In order to create an effective data masking and protection policy we need to orchestrate policies through roles instead of individual users. Following steps can be created to do the same.


Create Role

Commands to create a user, a role. You could also manage these by

Create user PII_USER password=piiuser default_role = masking_admin must_change_password = FALSE;
Create Role masking_admin;

Assign Role

Now assign the data masking role to a user who can mask the data and define all rules around how data should be presented to different roles or users.

grant role masking_admin to user PII_USER;

Apply Policy

You can assign masking policies at DB object levels, in this example I am applying to account and a schema.

grant apply masking policy on account to role masking_admin;

Create Policy

grant create masking policy on schema STAGE to role masking_admin;

Apply policy to columns

Now we create a masking policy for function or UDF that implements masking of data. In this first example we return the original Social security number if the user's role is Masking_Admin, returns a masked data for everyone other role including account admins.
In the second example of masking email ids, if the user belongs to ACCOUNTADMIN role, email id is partially masked and domain name part is returned as is and rest of the details of email id are masked with a function.
Finally we need to apply these masking policies to individual columns as needed. You can apply these policies to thousands of columns and they will all mask the data for different roles as expected 
--Create a new policy
create or replace masking policy STAGE.SSN_Policy as (SSN string) returns string ->
case when current_role() in ('MASKING_ADMIN') then
SSN
ELSE
'**Masked SSN**'
END;
---Associate it
alter table customer modify column ssn set masking policy Stage.SSN_Policy;
SELECT * FROm stage.CUSTOMER;
create or replace masking policy STAGE.Email_Policy as (email string) returns string ->
case when current_role() in ('MASKING_ADMIN') then email
when current_role() in ('ACCOUNTADMIN') then regexp_replace(email,'.+\@','*****@')
else '**Masked Email**'
END;
alter table customer modify column emailid set masking policy Stage.Email_Policy;

When implemented with right set of policies, visibility of your data can be controlled at a granular level.

Check out my YouTube video highlighting the feature in detail with a live demo


3rd Party tools

There are a number third party security offerings such as SecuPi that provide overarching security suites that cater to many other tools of your IT ecosystem, but Dynamic data masking feature is a built in feature that does not have any negative impact or security concerns or additional installation requirements.

Conclusion

Another great feature by snowflake that sets is a leader that addresses every aspect of cloud data ware housing needs.

Saturday, March 16, 2019

Snowflake Data Sharing - Complete video tutorial

Snowflake's data sharing feature lets you share your data with other account holders. Since data is shared as readonly, consumers do not incur any charges but they only pay for the compute resource they use.
snowflake-data-sharing

Checkout the detailed instructions video on my channel


LInk to this video - https://www.youtube.com/watch?v=GcrEK-VFEB8&list=PLUxVA4dlJgcz90Vbufh6o6p8Rrew-lnE3

Snowflake Secure Views

Snowflake's secure views let you abstract the logic and hide the underlying tables structures and their relations. These secure views help you manage data security and privacy.
snowflake-secure_views

In this video i reviewed all the details related to secure views and demo of using them.


Commands used in the video to demonstrate snowflake's secure views. Checkout the detailed video on my channel - https://www.youtube.com/watch?v=CRZQjxP10G0&list=PLUxVA4dlJgcz90Vbufh6o6p8Rrew-lnE3&index=3


--LIST PATIENTS
SELECT * FROM PATIENTS;


CREATE OR REPLACE SECURE VIEW ORG_PATIENTS AS
SELECT * FROM PATIENTS ;


SELECT * FROM ORG_PATIENTS ;

SHOW VIEWS;


SELECT FULLNAME,CITY,USER_ACCESS.ORG_ID,USER_ACCESS.ACCOUNT_ID FROM patients 
INNER JOIN USER_ACCESS ON PATIENTS.ORG_ID=USER_ACCESS.ORG_ID;

insert into USER_ACCESS values ('Baylor Hospital','');
insert into USER_ACCESS values ('Mayo Clinic','');


create table USER_ACCESS
(
    ORG_ID VARCHAR(50),
    ACCOUNT_ID varchar(50)
);

insert into USER_ACCESS values ('Baylor Hospital','MN30689');
insert into USER_ACCESS values ('Mayo Clinic','PO51568');

SELECT * FROM USER_ACCESS; 

TRUNCATE  TABLE USER_ACCESS SET ACCOUNT_ID='PO51568' WHERE 
ORG_ID='Mayo Clinic';

SELECT FULLNAME,CITY,USER_ACCESS.ORG_ID,USER_ACCESS.ACCOUNT_ID FROM patients 
INNER JOIN USER_ACCESS ON PATIENTS.ORG_ID=USER_ACCESS.ORG_ID;


select CURRENT_ACCOUNT();
select CURRENT_ROLE ();


--CREATE A SECURE VIEW
CREATE OR REPLACE SECURE VIEW ORG_PATIENTS AS
SELECT FULLNAME,CITY,USER_ACCESS.ORG_ID FROM patients 
INNER JOIN USER_ACCESS ON PATIENTS.ORG_ID=USER_ACCESS.ORG_ID
WHERE ACCOUNT_ID=CURRENT_ACCOUNT();


select * from ORG_PATIENTS;

SHOW VIEWS;
describe view ORG_PATIENTS;

describe view mycustomerview;
describe view ORG_PATIENTS;


select get_ddl('view', 'ORG_PATIENTS') view_defn;


Snowflake Time Travel - A complete guide


In the recent years IT Roles such as Database administrators are becoming  less and less relevant as most cloud based databases and datawarehouses are managed by IT engineers needing very little or no administration.

Snowflake already has very little administration. You do not need to do typical DBA tasks like index tables, partitioning or deal with space related issues. Time travel is another feature that lets developers self serve dba related task of reverting or restoring the database after you do issue some inadvertent commands.


In this detailed hands on video I explained about parameters that affect time travel and how to utilize this feature to revert the accidental or intentional database changes. 
Here are the list of commands used in the video

-- DATA_RETENTION_TIME_IN_DAYS

show parameters;
show parameters in database SALES;
show parameters in warehouse XMALLFORFINANCE;
show parameters in account;
show parameters like '%DATA%';
show parameters like 'DATA%' in account;
--CHANGES DATA RETENTION FOR THE DATABASEshow parameters in database SALES;alter DATABASE SALES set DATA_RETENTION_TIME_IN_DAYS = 1 ;

--CHANGES DATA RETENTION FOR THE WHOLE ACCOUNTshow parameters like 'DATA%' in account;alter ACCOUNT set DATA_RETENTION_TIME_IN_DAYS = 1 ;

select * from PATIENTS;
INSERT INTO PATIENTS values  (5,'TEST PATIENT','AMSTERDAM','Mayo Clinic');select * from PATIENTS at(offset => -60*5);
delete from PATIENTS where id=5;drop table sales.snow.PATIENTS ;
--Over a dayselect * from PATIENTS at(offset => -60*500000);

select * from PATIENTS at(timestamp => 'Sat, 16 Mar 2019 16:20:00 -0700'::timestamp);

select * from user_access;
--Before changes make by a specific queryselect * from patients before(statement => '025e545d-fc23-4e8d-9ac5-335943a1bec2');
create table restored_table clone user_access  at(timestamp => 'Mon, 09 May 2019 01:01:00 +0300'::timestamp);    create table restored_table clone user_access  at(offset => -60*10);    select * from restored_table;  drop table restored_table;    --Schema as existed 1 hour before  create schema restored_schema clone snow at(offset => -3600);  drop schema restored_schema;    create database restored_db clone sales  before(statement => '025e545d-fc23-4e8d-9ac5-335943a1bec2');  drop database restored_db;  show tables history  in sales.snow;show tables history  in sales;---Restoring objects
undrop table patients;
undrop schema snow;
undrop database sales;


More details are available in snowflake's documentation page - https://docs.snowflake.net/manuals/user-guide/data-time-travel.html

Check out my youtube channel for more videos - https://www.youtube.com/channel/UCT3bqK2QL93j-IFYFYbvjWQ